

Tydon had swimming lessons last month and there were some kids that had cute Towel Bags...

My friend and I thought they were so convenient so we decided to make some for our kids.
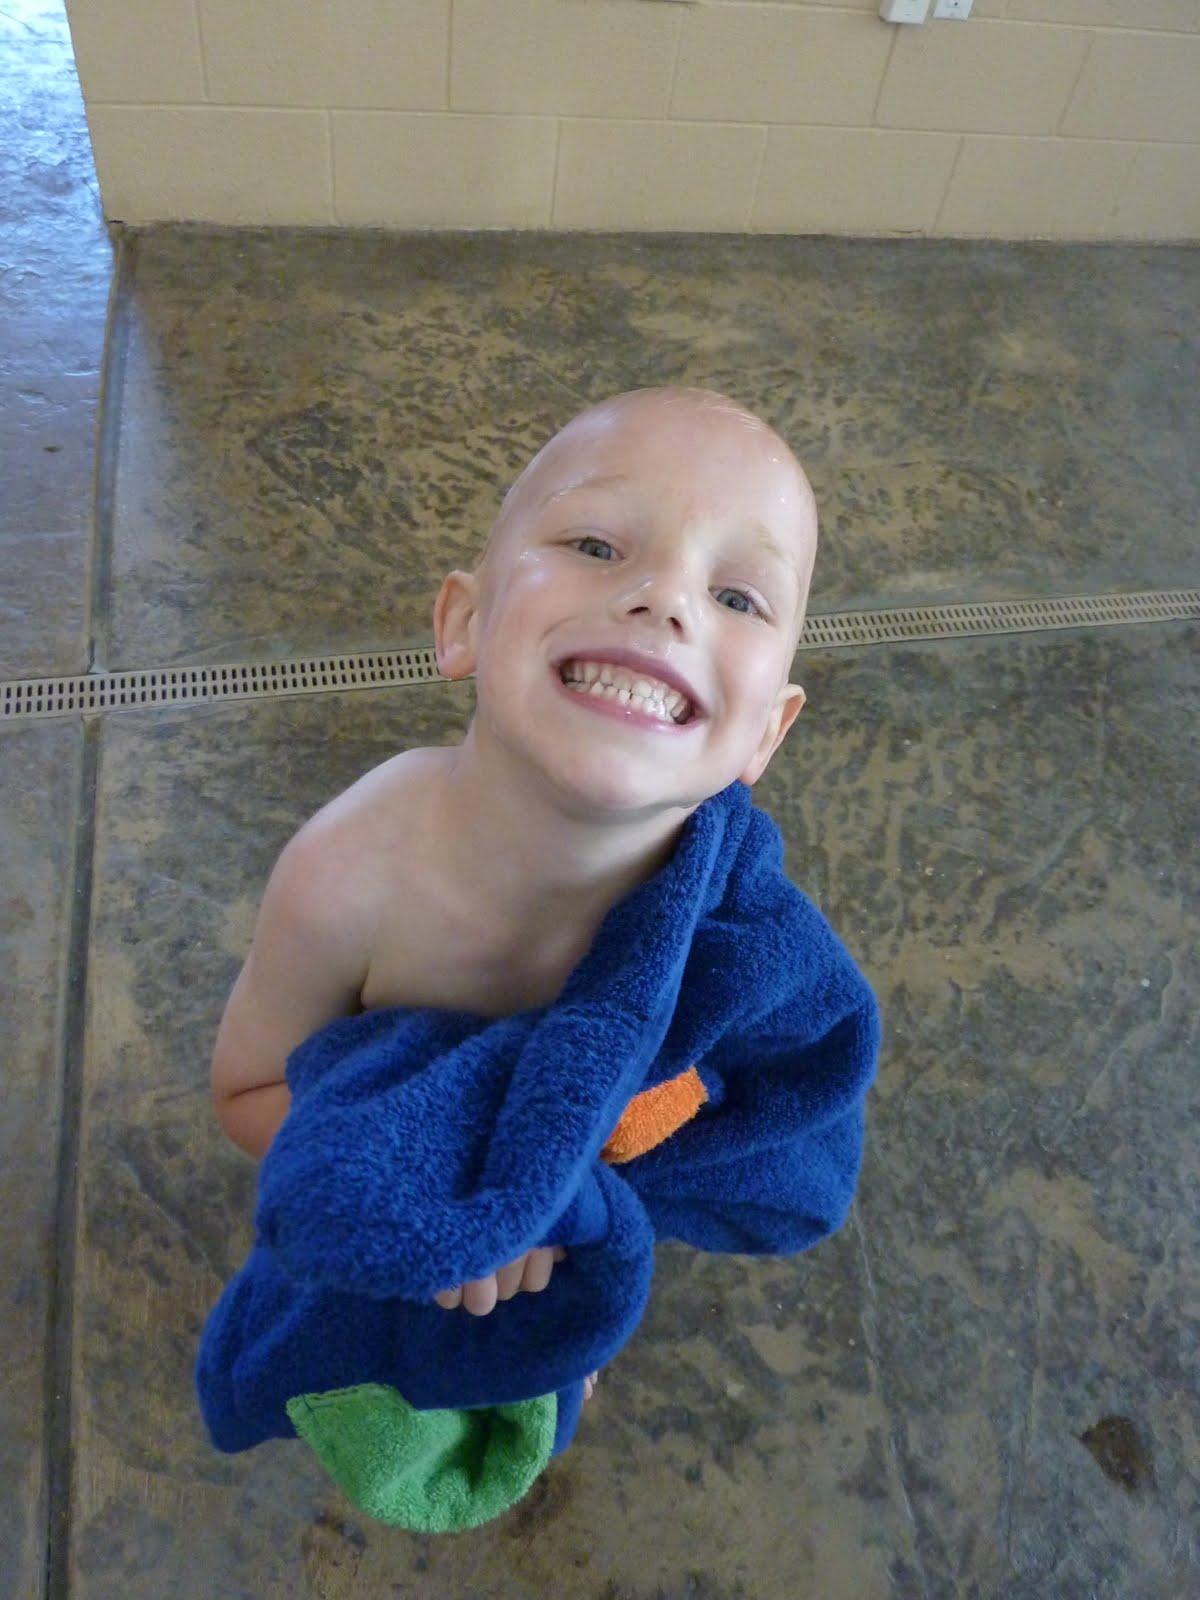
Tydon's "girlfriend" had a birthday yesterday and he wanted to make one for her so he picked out the colors and this is what we came up with...

TUTORIAL...
SUPPLIES:
SUPPLIES:
Bath Towel
Hand Towel
Coordinating Thread
Start by laying the hand towel out and decide the depth of your bag. Cut the bottom off {mine was about 11"} Then cut the bottom piece in half, creating two pieces {about 5 1/2 "}

Now you have the pieces for one side of your bag and the 2 straps...
Fold the strap pieces in half and zig zag stitch the two edges together
Then turn them inside out

If you'd like to have an initial on the front of your bag
Cut the letter out
{I chose a scrap piece from another towel bag, but any fabric would do}
Pin it to the FRONT of your hand towel
and Sew it on
{I zig zag stitched around the outside of the letter}
**I used aqua thread in my needle and yellow in my bobbin**

Now it's time to attach your straps...

Lay the Hand Towel in the upper Right corner of the Bath Towel

Pin one strap {to the inside/wrong side} to the Hand Towel

Pin the other strap {making sure they line up}to the back side
{so it ends up on the inside when it turns into a bag}of the Bath Towel
Sew the straps on

Now you'll lay the Hand Towel in the upper Right corner of the Bath Towel {again}
Pin the Hand Towel to the Bath towel
**Create a reinforcement at the bottom of the Hand Towel by folding the fabric over and pinning it**

Start in the upper Right corner and zig zag stitch around the whole outside of the Hand Towel.
YOU'RE DONE!!
Fold the towel into itself and you've created a cute Towel Bag :)

GREAT JOB!!
Let me know if you have any questions... I'm new at this whole tutorial thing :)
~Happy Birthday Mikell~
~Happy Birthday Mikell~


